What Is Print-Ready Artwork? Your Complete File Prep Guide
Discover what print-ready artwork is and learn to prepare files perfectly for printing. Ensure your designs print flawlessly with our guide!
What Is Print-Ready Artwork? Your Complete File Prep Guide
Print-ready artwork is a digital file prepared to a printer’s exact technical specifications so the job can go directly to press without any prepress changes. According to industry standards, that means correct trim dimensions, CMYK color mode, raster images at high resolution at final size, and bleed extended 0.125" (3 mm) beyond the trim edge on all sides. The submission format is almost always a PDF/X-1a or PDF/X-4 file.
Three things every print-ready file needs before you upload:
- Correct file type and export settings: PDF/X-1a or PDF/X-4 with embedded fonts, crop marks, and bleed boxes turned on.
- Correct color mode and resolution: CMYK throughout, raster images at high resolution at final print size.
- Bleed and safe area set: Bleed on all sides as per industry standards, critical content kept inside the trim line by a safe margin.
Miss any one of these and the printer either holds the job or makes changes you never approved.
Table of Contents
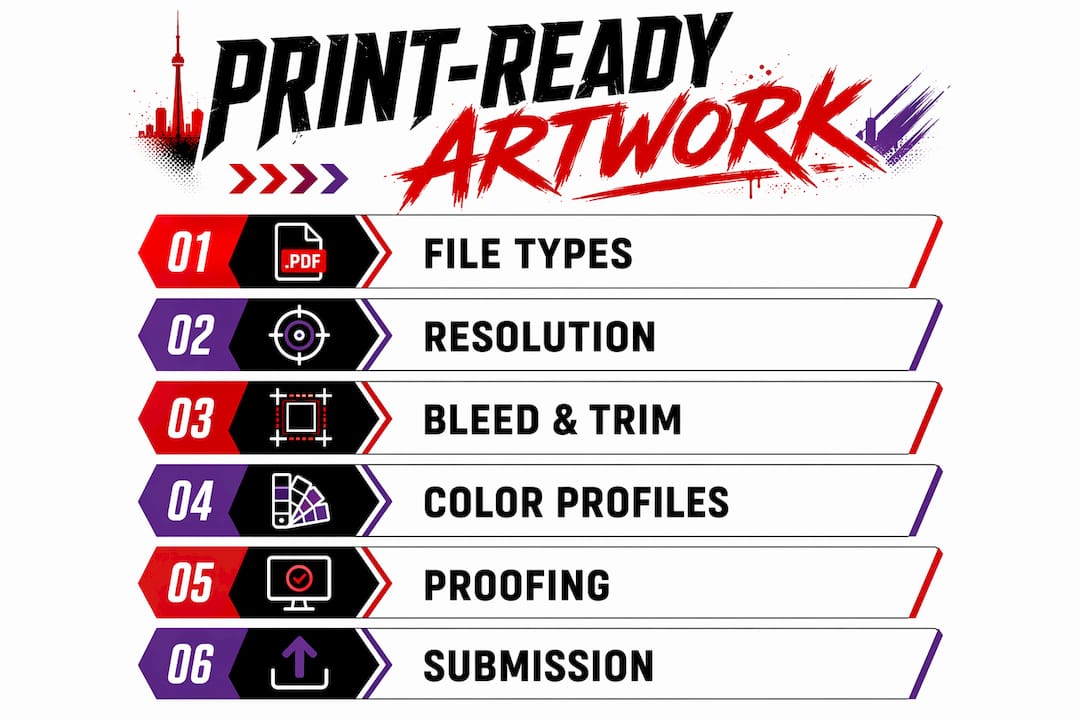
- What file types do printers actually accept?
- How does printing method change your resolution requirements?
- Bleed, trim, and safe area: the exact numbers you need
- Color modes, ICC profiles, and overprint basics
- How to handle fonts without surprises
- How to export a print-ready PDF step by step
- Dielines, spot coatings, and special finishes
- Barcodes and QR codes: sizing and verification
- How packaging dielines change the rules
- How to package and send files to your printer
- Preflight checklist and the three-pass proofing workflow
- Common problems and how to fix them
- Key Takeaways
- The part most guides skip: printer communication is half the job
What file types do printers actually accept?
The format question comes down to one distinction: vector vs. raster. Vector artwork (logos, text, line art) is built from mathematical paths, so it scales to any size without losing sharpness. Raster artwork (photos, textured illustrations) is pixel-based, so resolution is fixed at the moment you create or place it.
For most commercial print jobs, the safest deliverable is a PDF/X file because it packages fonts, color data, images, and layout into one self-contained document. Here are the formats printers commonly accept:
- PDF/X-1a: Maximum compatibility. Flattens transparency, embeds all fonts and images, locks the color space. The default choice for any standard job.
- PDF/X-4: Supports live transparency and layered artwork. Most current design software exports it natively; confirm your printer accepts it before submitting.
- EPS: Still accepted for single-element vector art (logos, icons), but PDF has largely replaced it for full layouts.
- AI (packaged): Supply only when the printer explicitly requests native Illustrator files. Package the file with “Collect for Output” to include linked assets and fonts.
- TIFF: The right choice for high-resolution photography and image-heavy artwork. Must be high resolution at final size, saved in CMYK.
Native InDesign or Illustrator files should go to the printer only on request. When you do send them, use InDesign’s “Package” function or Illustrator’s “Collect for Output” to bundle every linked image and font in a single folder.
How does printing method change your resolution requirements?
The high resolution rule applies to close-view paper products: business cards, brochures, packaging, and garment prints. For large-format signage, lower resolution acceptable for large formats viewed from a distance at final size is acceptable because viewing distance compensates for lower pixel density.

To check effective DPI in Photoshop, go to Image > Image Size, uncheck Resample, and type in the final print dimensions. The resolution field updates automatically. If it reads below high resolution for a close-view piece, the image is not print-ready.
| Printing method | Typical resolution target | Notes |
|---|---|---|
| Offset lithography | high resolution | Standard for brochures, books, packaging |
| Digital (toner/inkjet) | high resolution | Same as offset for close-view work |
| DTF / garment printing | high resolution | Higher detail needed for photo-realistic apparel prints |
| Screen printing | high resolution (art file) | Halftone screen is separate; supply vector when possible |
| Large-format signage | lower resolution acceptable for large formats viewed from a distance | Viewing distance of 3 ft or more allows lower resolution |
Pro Tip: Always check resolution at 100% of the final print size, not the thumbnail. An image that looks sharp at 25% zoom in Photoshop may be well under 150 DPI when stretched to poster dimensions.
For apparel-specific resolution questions, Torontocustomtshirts has a dedicated breakdown of shirt print resolution and what high resolution actually means for DTF and screen-print workflows.
Bleed, trim, and safe area: the exact numbers you need
Bleed is the strip of artwork that extends beyond the trim line. It exists for one reason: cutting machines are not perfectly precise, and without bleed, a slight shift produces a white sliver along the edge of the finished piece. The U.S. commercial standard is the industry-standard bleed on every side.
The safe area is the inverse: a buffer inside the trim where you keep all text, logos, and critical content. Keep everything important inside the trim line by a safe margin so a slight cut variation doesn’t clip your headline.
How to set bleed in common tools:
- Adobe InDesign: File > Document Setup > Bleed and Slug. Enter the standard bleed on all sides. When exporting PDF, check “Use Document Bleed Settings” and enable crop marks.
- Adobe Illustrator: File > Document Setup > Bleed. Same 0.125" value. In the PDF export dialog, check “Marks and Bleeds.”
- Photoshop: Add 0.25" to each dimension when creating the canvas (0.125" per side), then place crop marks on a separate layer or export with guides visible.
- Canva: Use a custom canvas size that adds 0.25" to width and height, extend backgrounds to the edge, and export as “PDF Print.”
Pro Tip: Always extend background colors and images into the bleed zone, not just to the trim edge. A background that stops at the trim line is the most common cause of white slivers, even when bleed is technically set up.
Request a print template from your printer for any job with unusual dimensions. Most printers supply templates with guides already placed.
Color modes, ICC profiles, and overprint basics
CMYK is the default for commercial printing. Cyan, Magenta, Yellow, and Black are the four inks on press, and a file built in CMYK gives you predictable output. RGB files look vivid on screen because monitors emit light; on press, an automatic RGB-to-CMYK conversion often shifts colors in ways you won’t catch until the job is printed.
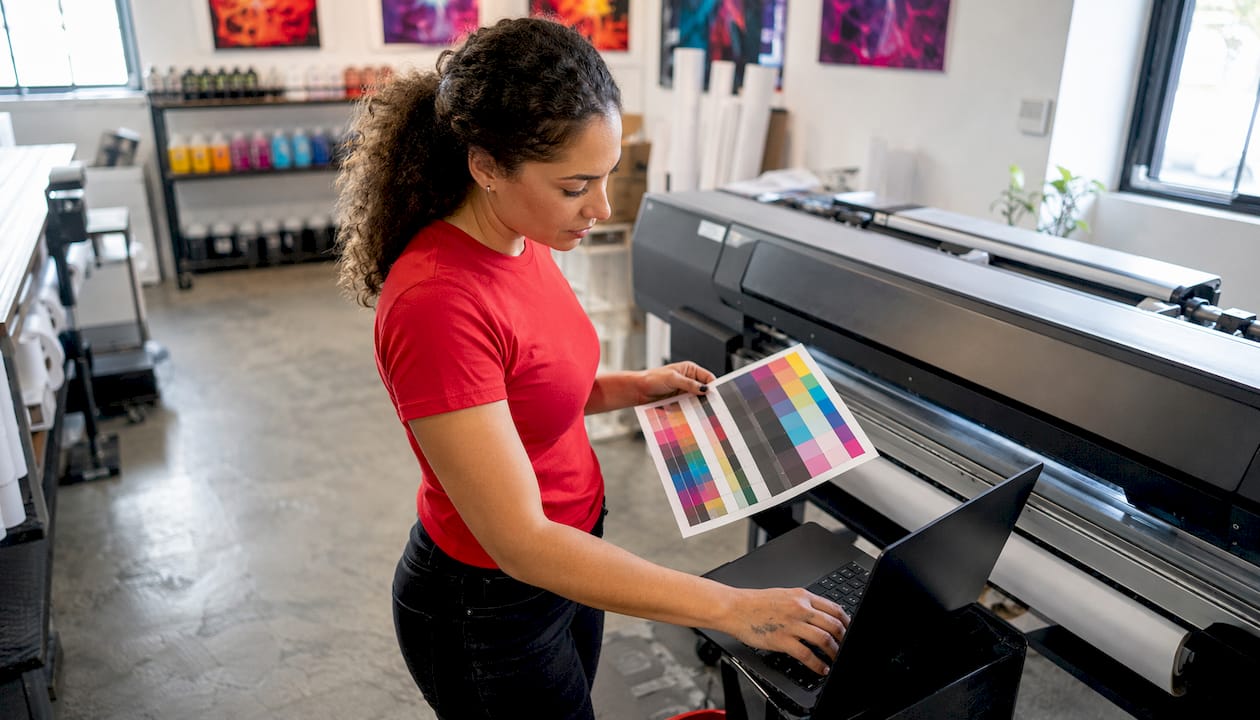
Build in CMYK from the start. For brand-critical colors, Pantone spot colors give you a guaranteed match that process CMYK cannot always reproduce, particularly for saturated oranges, greens, and metallics. Tell the printer the Pantone number and confirm whether they’re running it as a true spot ink or converting it to CMYK.
A few color-handling points worth knowing:
- ICC profiles: Embed the profile your printer specifies (commonly U.S. Web Coated SWOP v2 for offset, or the printer’s custom profile). Soft-proof in Photoshop or InDesign using View > Proof Colors before exporting.
- Overprinting: Black text set to overprint sits on top of underlying colors rather than knocking them out. This prevents registration gaps around small type. Check overprint settings in InDesign’s Attributes panel or Illustrator’s Attributes panel.
- Trapping: A thin overlap between adjacent colors that prevents white gaps if plates shift slightly on press. Most RIP software handles basic trapping automatically; for critical jobs, confirm with the printer whether they want trapping applied in the file or handled in prepress.
Pro Tip: Never rely on the screen to judge CMYK color accuracy. Use a printed color swatch book or a contract proof. Monitors use RGB light and interpolation, so even a calibrated display can mislead you on press output.
How to handle fonts without surprises
The two safe options are embedding fonts in the exported PDF or converting all text to outlines before saving. PDF/X export handles embedding automatically. Outlining converts letterforms to vector paths, which eliminates any risk of font substitution on the printer’s system.
The tradeoff: outlined text is no longer editable. Always save an editable master file before you outline anything, and version it clearly (v01_editable, v02_outlined).
A few practical font rules:
- Minimum body text size for offset and digital printing is generally 6 pt; for reversed (white on dark) type, go no smaller than 8 pt to prevent ink fill-in.
- Barcodes and QR codes require specific fonts (OCR-B for human-readable barcode text); always supply these as vector or outlined.
- Don’t send commercial font files to the printer unless your license explicitly permits distribution. If the license is unclear, outline the text instead.
- Confirm that all fonts are embedded by opening the exported PDF in Adobe Acrobat and checking File > Properties > Fonts. Every font listed should show “Embedded Subset.”
How to export a print-ready PDF step by step
PDF/X-1a is the safest default for most commercial jobs. It flattens transparency, locks the color space to CMYK, and embeds everything. PDF/X-4 is the better choice when the printer’s workflow supports live transparency and you’re working with complex layered artwork.
Export settings to confirm before saving:
- Standard: PDF/X-1a:2001 or PDF/X-4 (match the printer’s requirement)
- Color conversion: Convert to CMYK; embed the destination ICC profile
- Image downsampling: Bicubic downsampling to high resolution for images above 450 DPI; do not downsample below high resolution
- Fonts: Embed all fonts (subset at 100%)
- Marks and bleeds: Crop marks on, bleed set to 0.125", slug off unless the printer requests it
- Compatibility: Acrobat 4 (PDF 1.3) for PDF/X-1a; Acrobat 7 (PDF 1.6) for PDF/X-4
In InDesign, use File > Export > Adobe PDF (Print) and select the PDF/X-1a preset as a starting point. In Illustrator, use File > Save a Copy and choose the PDF/X-1a or PDF/X-4 preset. In Canva, export via the “PDF Print” option, which outputs at high resolution with crop marks.
A web-optimized PDF is not a substitute. Web PDFs reduce image resolution and strip color data, making them unsuitable for press.
Dielines, spot coatings, and special finishes
A dieline is a vector path that shows the printer where to cut, score, or perforate. It lives on its own layer, colored with a named spot color (conventionally called “DIELINE” or “CutContour”), and set to overprint so it doesn’t knock out the artwork beneath it. The prepress RIP reads the spot color name and routes it to the cutting plotter automatically.
For spot UV varnish, foil stamping, and embossing, the same principle applies:
- Create a separate layer for each finish (e.g., “SPOT UV,” “FOIL”).
- Fill the shapes with a named spot color set to overprint.
- Supply a clearly labeled PDF showing the finish area, plus a separate file with only the finish layer if the printer requests it.
- Include registration marks on all files so the finishes align to the printed sheet.
- Add a written note in the job sheet describing each finish, the layer name, and any tooling files you’re supplying.
Never assume the printer will interpret an unlabeled layer. Name everything explicitly.
Barcodes and QR codes: sizing and verification
A QR code that fails to scan after printing is a production failure, not a design quirk. The minimum printable size for a retail QR code is generally 0.7–1.0 inch; smaller codes work only with very low data density. Standard retail barcodes (UPC-A, EAN-13) have strict quiet zone requirements: a clear margin of at least 10 times the narrowest bar width on the left and right.
Workflow for reliable codes:
- Generate barcodes from a verified source (GS1 for retail barcodes; a reputable QR generator for marketing codes).
- Supply vector format where possible. If raster is unavoidable, use 600 DPI minimum for small codes.
- Proof at actual print size on screen, then print a test sheet and scan it with multiple devices before approving the final file.
- Check contrast: dark bars on a white or very light background. Avoid printing barcodes on colored or textured stock without a white underbase.
How packaging dielines change the rules
Packaging jobs (folding cartons, pouches, mailer boxes) use dielines that include multiple panels, flaps, and glue tabs. Bleed and safe-area rules apply per panel, not across the flat sheet, because each panel folds independently. A background that bleeds correctly on the flat may create a visible gap at a fold line if you haven’t accounted for panel creep or crease allowance.
Always request the manufacturer’s dieline template before starting artwork. Build your design inside the template’s guides, extend backgrounds into each panel’s bleed zone separately, and keep text and logos clear of fold lines by at least the safe-area margin. For saddle-stitched booklets, account for page creep: inner pages shift outward during binding, so outer margins need to be slightly wider on inner spreads.
When in doubt, ask the printer for a structural sample or a white-paper proof before committing to a full production run.
How to package and send files to your printer
A clean file delivery prevents the most common production delays. The standard package for most jobs:
- One PDF/X file per job (single-page or multi-page as the printer specifies).
- A separate folder with native files only if the printer requests them; include all linked images and fonts.
- A concise job sheet (plain text or PDF) covering: project name, trim size, quantity, paper stock, finishing requests, color expectations (ICC profile name or Pantone numbers), contact name, and approval instructions.
File naming convention: YYYYMMDD_ProjectName_TrimSize_v01.pdf (example: 20260315_AcmeBrochure_8.5x11_v01.pdf). Version numbers prevent the printer from running an outdated file. Zip multiple files into a single archive before uploading, and use a download link (WeTransfer, Dropbox, Google Drive) for anything over 25 MB rather than email attachments.
For business and bulk orders, Torontocustomtshirts has a practical overview of printing for businesses and teams that covers job sheet expectations and order logistics.
Preflight checklist and the three-pass proofing workflow
Run a preflight check before every upload. A thorough preflight catches the issues that cause reprints: fuzzy text, color shifts, missing fonts, and low-resolution images.
| Preflight item | What to check |
|---|---|
| Trim dimensions | Match the ordered size exactly |
| Bleed | the standard bleed on all sides, backgrounds extended |
| Color mode | CMYK throughout, including placed images |
| Image resolution | high resolution at final print size |
| Fonts | Embedded or outlined; no missing fonts |
| Overprint settings | Black text overprints; no unintended knockouts |
| Total ink limit | Typically 300% max for offset; confirm with printer |
| Dielines / special finishes | Separate named spot-color layers, set to overprint |
| Barcodes | Vector or 600 DPI raster; test-scanned |
| File format | PDF/X-1a or PDF/X-4 as specified |
Beyond the preflight table, run a three-pass proofread before exporting:
- Pass 1 — Content: Read every word. Check phone numbers, URLs, prices, and dates.
- Pass 2 — Layout: Zoom to 100% and verify bleed, crop marks, and that no text sits inside the safe area.
- Pass 3 — Technical: Soft-proof the color, scan any barcodes, and confirm the PDF standard in Acrobat’s properties.
For color-critical or high-volume jobs, request a contract proof (a calibrated print from the printer’s RIP) before approving. A hard press proof costs more but gives you an exact sample from the production press. Approving a contract proof transfers color responsibility to you, so review it carefully under consistent lighting.
Common problems and how to fix them
Submitting a non-print-ready file forces the printer to make corrections, which delays production and can trigger additional fees. The most frequent issues and their fixes:
- RGB color: Convert to CMYK in Photoshop (Image > Mode > CMYK Color) or in InDesign’s export settings. Soft-proof after converting to catch any hue shifts before the file leaves your hands.
- Low-resolution images: Replace with the original high-resolution file. Upsampling a low-res image in Photoshop does not add real detail. If the original doesn’t exist, reshoot or source a higher-resolution version.
- Missing bleed: Extend backgrounds and images beyond the trim edge by 0.125". If the original canvas is too small, increase the document size and rebuild the background.
- Missing or unembedded fonts: Re-export the PDF with “Embed All Fonts” checked, or outline the text in Illustrator/InDesign before exporting.
- Incorrect PDF export settings: Re-export using a PDF/X-1a or PDF/X-4 preset. Never use “Save as PDF” from a web browser or the macOS print dialog for commercial files.
- Unintended transparency or overprint: Flatten transparency in Illustrator (Object > Flatten Transparency) before exporting PDF/X-1a, or confirm the printer’s RIP handles live transparency before using PDF/X-4.
If a fix is beyond your current skill level, document the problem precisely (screenshot, file name, page number) and tell the printer what you know. A clear description saves the prepress operator time and reduces the chance of an uncommunicated change making it to press.
For apparel-specific issues like color profile mismatches and resolution problems, Torontocustomtshirts covers the most common design mistakes that affect custom t-shirt print quality.
Key Takeaways
A print-ready file exports as PDF/X-1a or PDF/X-4, uses CMYK color at high resolution, includes standard bleed on all sides, and passes a three-pass proofread before it reaches the printer.
| Point | Details |
|---|---|
| PDF/X export standard | Use PDF/X-1a for maximum compatibility or PDF/X-4 for live transparency; both embed fonts and color data. |
| CMYK color mode | Build in CMYK from the start; RGB-to-CMYK auto-conversion often causes unpredictable color shifts. |
| high resolution at final size | Check resolution at 100% of the print dimensions, not at thumbnail zoom. |
| standard bleed on all sides | Extend all backgrounds and edge-touching images 0.125" beyond the trim line. |
| Keep an editable master | Outline fonts and flatten layers only in a copy; preserve the original for future edits. |
The part most guides skip: printer communication is half the job
The technical specs covered here are well-documented. What’s less discussed is how often print jobs go wrong not because the file was wrong, but because the conversation between designer and printer was incomplete.
A common scenario: artwork submitted in RGB because the designer assumed the printer would handle conversion. The printer’s RIP converts it automatically, the job runs, and the client receives shirts where a rich navy reads as purple and a warm orange reads as brown. The file was “accepted.” The output was wrong. Nobody flagged it because nobody asked.
The fix isn’t more technical knowledge. It’s a clearer job sheet and one question asked before submission: “Which PDF/X variant do you prefer, and which ICC profile should I target?” Most printers will answer in under a minute, and that answer changes the export settings you use. Asking also signals that you know what you’re doing, which tends to get your job handled more carefully.
The same logic applies to proofs. A digital soft proof costs nothing and catches color issues before ink touches paper. A contract proof costs a little more and is worth every cent on a high-volume or brand-critical run. Skipping the proof to save time is the single most reliable way to end up reprinting.
Version control matters more than most people realize. A file named “final_FINAL_v3_USE THIS ONE.pdf” is a production risk. A file named “20260315_AcmeBrochure_8.5x11_v03.pdf” is not. The naming convention takes thirty seconds and prevents the printer from running last week’s version.
Ask for templates on complex jobs. Ask for a structural sample on packaging. Ask which ink limits apply to your stock. The printers who do great work want you to ask these questions. The ones who don’t probably aren’t the right fit anyway.
Need help getting your artwork press-ready? Torontocustomtshirts offers professional print-ready artwork support alongside custom apparel printing for individuals, businesses, teams, and events across Toronto, Mississauga, and the GTA. Local pickup is available in Mississauga, and the team handles both single orders and bulk printing runs of all sizes.
Recommended
Get pricing in 24h.
Toronto-based, no minimums. Tell us about your project and we'll email a detailed quote within one business day.
Request a Quote