Avoid Pixelation: 300 DPI File Prep for Vector vs Raster in Toronto
Toronto print-ready checklist: when to send vector logos, when to use high-res PNG/TIFF for photos, how the 300 DPI rule and PDF/X exports prevent...
Avoid Pixelation: 300 DPI File Prep for Vector vs Raster in Toronto
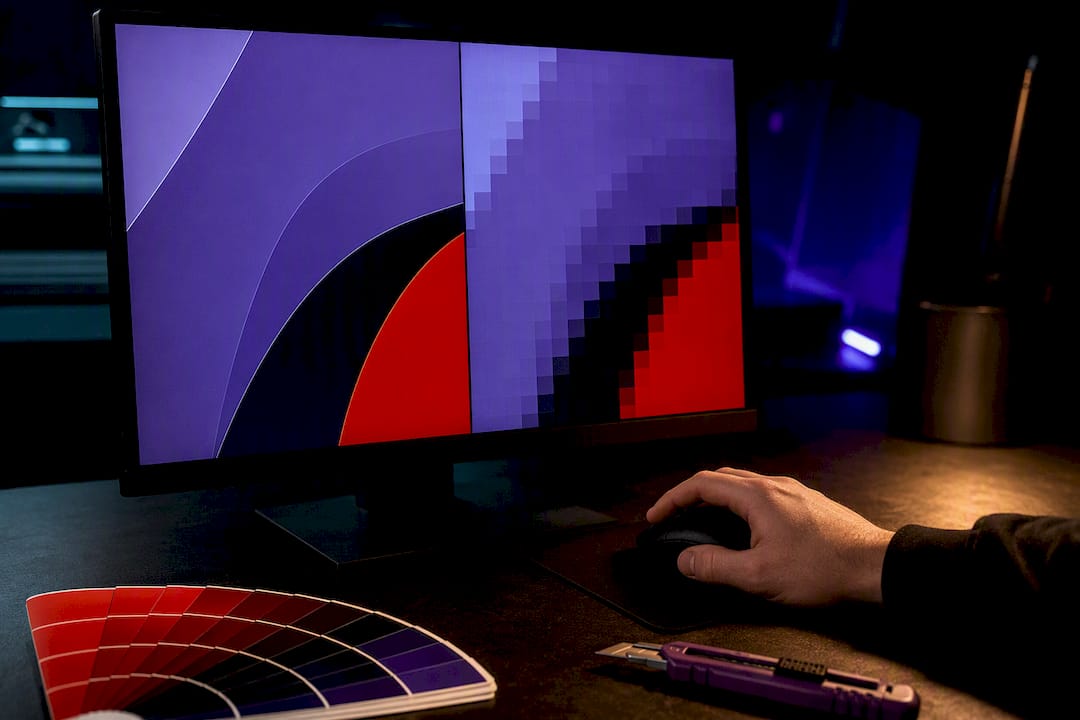
Vector files win for logos, text, and anything getting cut or scaled. Raster files win for photographs and shaded artwork, but only at full resolution. Most real print jobs use both at once, packaged into a single PDF, so the smarter question isn’t “which one” but “which one, where, and at what settings.”
TL;DR:
- Vector files are ideal for logos and text because they store instructions that allow images to resize without quality loss, regardless of the final output size.
- Raster files require sufficient resolution—at least 300 DPI at the print size—to prevent pixelation and are suitable for photographs and complex textured artwork.
- Converting raster images into vector is only feasible for simple shapes; complex photographs cannot be meaningfully vectorized without losing detail.
- For print approval, ensure raster images meet pixel dimension requirements based on final size and DPI, and always use CMYK color mode with embedded fonts.
- Most print jobs combine vectors and rasters in one PDF, with production often requiring resolution adjustments or tracing rather than complete re-creation.
Table of Contents
- Vector vs Raster Printing: What Vector Files Actually Do
- What a Raster File Is and When You’re Stuck With One
- How DPI, Color Mode, and File Type Affect Your Print Quality
- Which File Format Fits Your Print Job
- How to Check and Prep Your File Before You Send It
- Export Settings That Get Your File Approved on the First Try
- What Actually Happens on the Print Floor
- Get Your File Print-Ready With Local Help in the GTA
- Sources
Vector vs Raster Printing: What Vector Files Actually Do
A vector file doesn’t store an image. It stores a set of instructions: anchor points, curves, and math that tells a printer or screen exactly how to redraw a shape at any size. That’s why a logo saved as a vector graphic looks identical on a business card and a billboard, with no blur, no jagged edges, and no quality loss.
Common vector formats include AI, EPS, SVG, and vector PDF, built mostly in Adobe Illustrator or the free alternative Inkscape. Because the artwork is made of clean, editable paths, vector is the standard for logos, typography, dielines, and anything headed to a vinyl cutter or laser engraver. Change the size, and the math just recalculates. Nothing degrades.
What a Raster File Is and When You’re Stuck With One
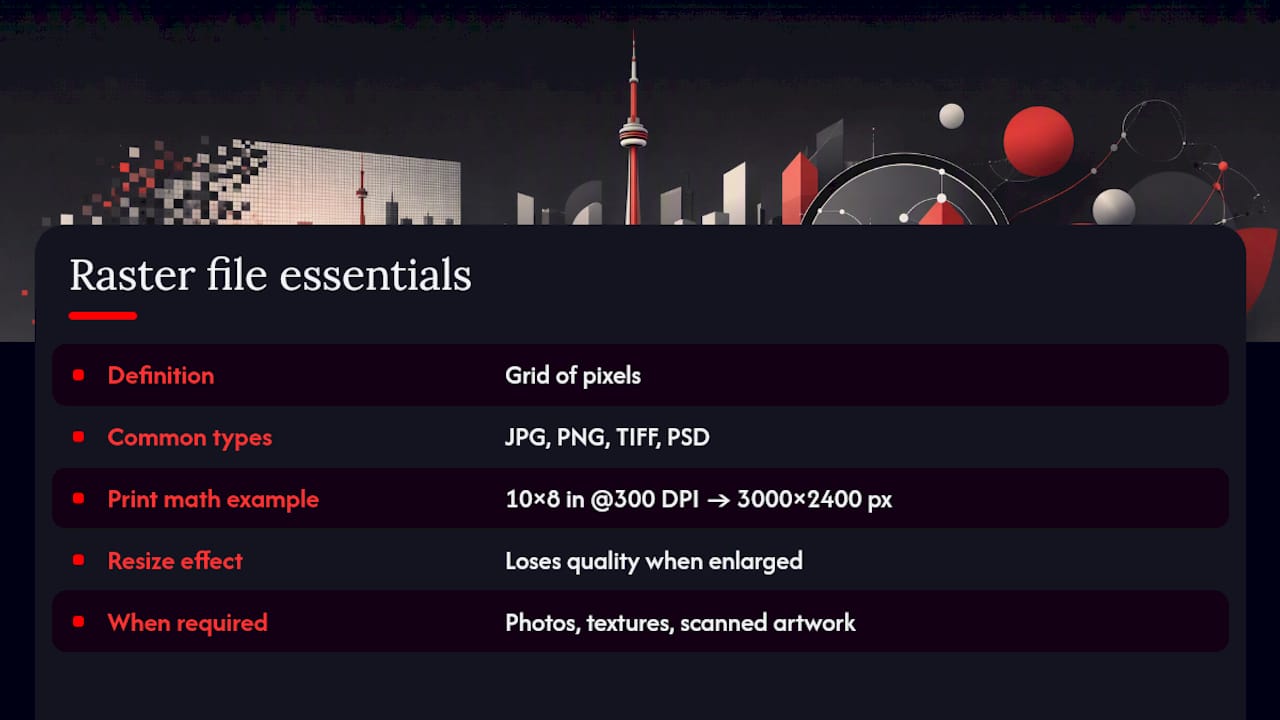
A raster file is a grid of pixels, and its quality depends entirely on how many of those pixels you have. JPG, PNG, TIFF, and PSD files are all raster. Stretch one past its native resolution and you get soft edges, visible blocks, or outright pixelation, since raster images lose quality when resized beyond their original pixel count.
Figuring out if a raster file will hold up is simple math: multiply the final print size by your target DPI. A 10 by 8 inch print at 300 DPI needs 3,000 by 2,400 pixels, not a pixel less. Photographs, photorealistic textures, and scanned artwork have no vector equivalent. There’s no path formula for a sunset or a wrinkled fabric texture, so raster is the only practical option.
How DPI, Color Mode, and File Type Affect Your Print Quality
Print shops build their entire workflow around one number: 300 DPI at final size, the standard for anything viewed up close, like brochures, business cards, and apparel prints. Drop below that and edges soften into visible pixelation, especially on fine text or logo details sitting inside a raster file.
Vector artwork sidesteps the whole problem. It renders at whatever DPI the output device supports, because there’s no fixed pixel grid to run out of. A raster image has to already meet that resolution at the size you’re printing it, before it ever reaches the press.
Color mode is the other variable people forget:
- Convert artwork to CMYK before sending it to press; RGB files often shift in tone once printed.
- Use spot or Pantone colors when brand accuracy matters. Vector files make spot-color separations far easier to isolate and adjust.
- Vector files stay small and infinitely editable; raster files bloat in size as resolution climbs.
A 300 DPI print at 10 by 8 inches needs exactly 3,000 by 2,400 pixels. Anything short of that shows up as noticeable softness on the printed piece, and there’s no fix in the file once it’s flattened.
One more limit worth knowing: you can convert a simple raster shape into vector paths, but a complex photograph can’t be meaningfully vectorized without losing the detail that made it a photo in the first place.
Which File Format Fits Your Print Job
- Logos and branding. Always work from a vector master, saved as AI, EPS, SVG, or vector PDF. This is the file you hand to every printer, every vendor, forever.
- Apparel and DTF transfers. Vector artwork handles outlines and text cleanly, while complex or photographic elements need a transparent, high-resolution PNG or TIFF. A high-res transparent PNG is standard for photo elements in DTF printing, so confirm exact specs with your printer before uploading.
- Photography and brochures. High-resolution raster, TIFF or JPG, at the full DPI your final print size demands.
- Large-format signage. Text and graphics should stay vector. Photos are fine here too, since signage viewed from a distance can run at 100 to 150 DPI instead of the 300 DPI needed for close-up work.
- Cut, vinyl, and laser work. Vector paths only. A raster file has no cut line for a blade or laser head to follow, so it simply won’t work here.
How to Check and Prep Your File Before You Send It
Before uploading anything, run a few quick checks. Look at the file extension first: AI, EPS, SVG, or vector PDF means vector; JPG, PNG, or TIFF means raster. If you’re unsure, open it in Illustrator and switch to outline view, which strips color and reveals whether the artwork is made of paths or a flattened image.
For raster files, check the document info panel for pixel dimensions, then run the math: final print size times your target DPI equals required pixels. A 5 by 5 inch patch at 300 DPI needs 1,500 by 1,500 pixels, no exceptions.
Before export, confirm:
- Color mode is set to CMYK, or ask your printer for their exact color profile.
- Fonts are embedded or converted to outlines so nothing reflows on someone else’s machine.
- Bleed is set, typically 0.125 to 0.25 inches beyond the trim edge.
- No “fake transparency,” where a white background just blends in instead of being truly removed.
Pro Tip: Open any vector file and zoom to 1,000%. If edges stay crisp, you’re safe. If you spot a blurry embedded photo hiding inside what you thought was a clean vector logo, that raster element is the one that’ll pixelate on press, not the vector shapes around it.
Export Settings That Get Your File Approved on the First Try
Save as PDF/X-1a or PDF/X-4 whenever your printer accepts it. Both formats embed the print-ready information a press needs, including color profiles and font data, so nothing gets lost between your desktop and the print queue.
Before you export:
- Embed all raster images at their final DPI. Don’t rely on the PDF to upscale anything.
- Include bleed and crop marks, and set color mode to CMYK.
- Flatten transparency only if your printer specifically asks for it. Leave it layered otherwise.
- Send native AI, EPS, or SVG files for anything that needs future edits; use a packaged folder with linked assets if your design software supports it.
Always request a proof, and confirm spot colors or specialty inks before the job goes to production.
What Actually Happens on the Print Floor
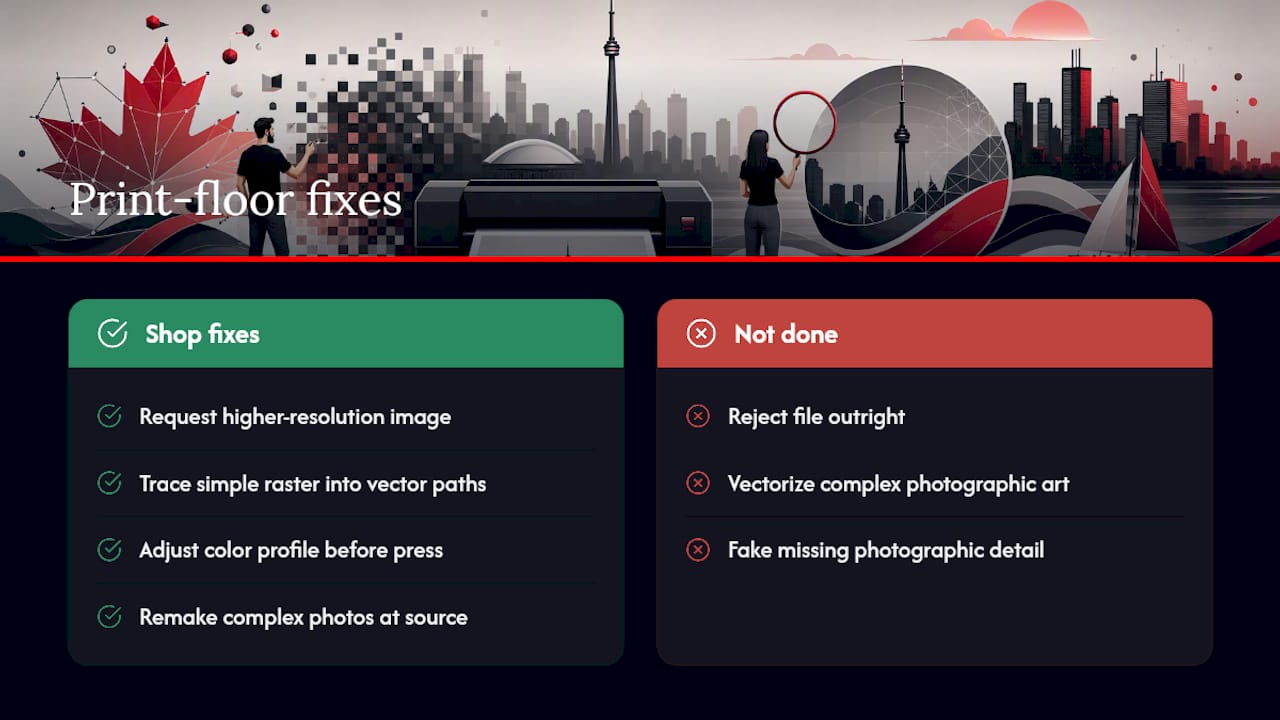
Real production jobs are rarely pure vector or pure raster. A typical run combines a vector logo with linked high-resolution photos inside one PDF, letting the crisp logo scale perfectly while the photo carries full detail.
When something’s off, shops don’t usually reject the file outright. They ask for a higher-resolution image, trace a simple raster shape into clean vector paths, or adjust the color profile before it hits the press. Complex photographic art almost never gets vectorized. It gets remade at source instead, since that’s faster and cleaner than faking detail that was never there.
— Toronto
Get Your File Print-Ready With Local Help in the GTA
Files are typically checked for resolution, color mode, and scaling issues before going to press, to ensure logos hold up at 300 DPI and photo elements do not pixelate on shirts.
Send a vector logo when you have one, and a high-resolution PNG or TIFF for anything photographic. If you’re not sure which you’ve got, our team reviews the file during the quote process and flags any resolution or color problems before production starts, whether it’s a single custom tee or a bulk team order. Full-color DTF printing, screen printing, and rush turnaround services are commonly available with options for local pickup. Upload your artwork or request a quote today, and get a straight answer on whether your file is ready for print before you commit to an order.
Sources
- Raster vs Vector | Adobe
- Image File Types Explained for Printing | Print Geek
- Vector vs raster (University of Michigan guides)
- Vector vs Raster for Print: Which One Wins? | DesignYourWay
Recommended
Get pricing in 24h.
Toronto-based, no minimums. Tell us about your project and we'll email a detailed quote within one business day.
Request a Quote