What to Look for Before Ordering Custom Apparel
Learn what to look for before ordering custom apparel. Ensure quality and avoid mistakes with this essential checklist for your order.
What to Look for Before Ordering Custom Apparel
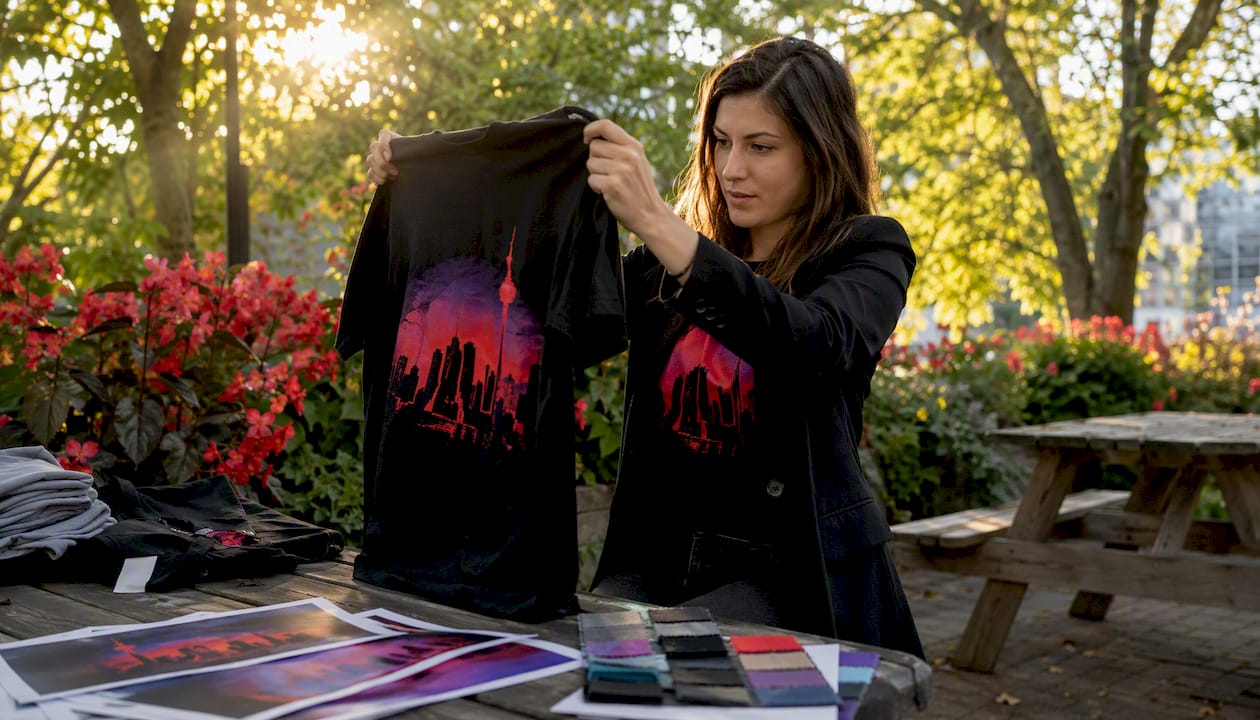
Before you place a custom apparel order, confirm seven things: print-ready artwork at 300 DPI or vector format, the right printing method for your fabric, quantity versus setup fees, a proofed sample, accurate sizing, realistic lead time, and care instructions for the decoration method you chose.
Here is a fast-scan checklist to use right now:
- Artwork: Vector file (.AI, .EPS, .SVG) or 300 DPI raster at final print size
- Method match: Screen printing, DTF, DTG, or embroidery chosen for your fabric and quantity
- Pricing: All-in quote including setup fees, underbase, and rush charges
- Proof/sample: Digital proof approved, physical sample requested before full run
- Sizing: Manufacturer size chart confirmed, test garment ordered
- Lead time: Production start date, proof approval window, and pickup/ship date in writing
- Care instructions: Wash guidance matched to your decoration method
Pro Tip: Order one physical sample before committing to the full run. A $20–$30 sample prevents a $500 reprint.
Table of Contents
- What file formats and specs does your printer actually need?
- Which printing method is right for your order?
- How fabric choice affects print quality and longevity
- How quantity, setup fees, and timing affect your price
- What proofs and samples should you require?
- How to get sizing right and avoid costly returns
- What turnaround times should you realistically expect?
- How long do prints actually last, and how should you care for them?
- Your pre-order checklist: confirm these items before approving production
- Key Takeaways
- What most clients get wrong (and how to fix it before you order)
- Torontocustomtshirts makes the pre-order process straightforward for GTA customers
What file formats and specs does your printer actually need?
Print-ready artwork is the single most common source of production delays. Get this wrong and you pay for it twice: once in art-prep fees, once in lost time.
Preferred formats:
- Vector files (.AI, .EPS, .SVG, vector PDF): logos and text should always be vectors. They scale to any size without quality loss.
- Raster files (PNG, PSD, TIFF): acceptable only at 300 DPI at the actual final print dimensions. A 72 DPI web image upscaled to 300 DPI is still 72 DPI in print quality.
To check a raster file, open it in any image editor, set the canvas to the intended print size, and zoom to 400%. If edges look soft or pixelated at that view, the file will print that way.
Color modes: Use CMYK for most print methods. Pantone spot colors matter when brand accuracy is non-negotiable — a Pantone reference gives your printer an exact ink target instead of a screen approximation.
Transparency: For DTF on dark garments, your file needs a genuinely transparent background. A white-filled background will print as a white box around your logo. Also outline all fonts and embed any linked images before sending.
Submit a low-res preview alongside your production file. It gives the printer a visual reference for placement and catches orientation errors before a single shirt is touched.
Pro Tip: Check your file by placing it on a black background in Photoshop or Illustrator. Any white halo or box you see there will print on your dark garments.
Which printing method is right for your order?
The right method depends on fabric, quantity, design complexity, and how long the print needs to last. Here is a direct comparison:
| Method | Best quantity range | Best fabrics | Color/detail | Durability | Setup cost |
|---|---|---|---|---|---|
| Screen printing | 48–500+ pieces | 100% cotton, cotton blends | Spot colors, bold fills | roughly 100+ washes | Per-color screen fee |
| DTF | 1–48 pieces (scales up) | Cotton, poly, blends, nylon | Full color, gradients, photos | substantial durability | Near zero |
| DTG | 1–24 pieces | 100% cotton preferred | Full color, photographic | Moderate (fades faster on blends) | Near zero |
| Embroidery | 12–500+ pieces | Cotton, pique, fleece | Limited colors, dimensional | Excellent (outlasts print) | Digitizing fee |
| Heat transfer | under 24 pieces | Most fabrics | Good for simple designs | Lower (peels over time) | Low |
Quick use-case guide:
- Team uniforms in bulk: screen printing on cotton or DTF on performance poly
- Small multi-color run (under 48 pieces): DTF wins on cost and detail
- High-detail photo print: DTF or DTG
- Embroidered polos for corporate wear: embroidery with a digitizing fee upfront
Screen printing becomes more cost-effective for larger orders, with the cost benefits increasing significantly as order volume grows, depending on design complexity. Below that threshold, DTF’s zero setup cost usually wins.
Pro Tip: Sample your design in DTF first. If you reorder at volume, switch to screen printing. You get proof of concept without committing to screen setup fees.
How fabric choice affects print quality and longevity
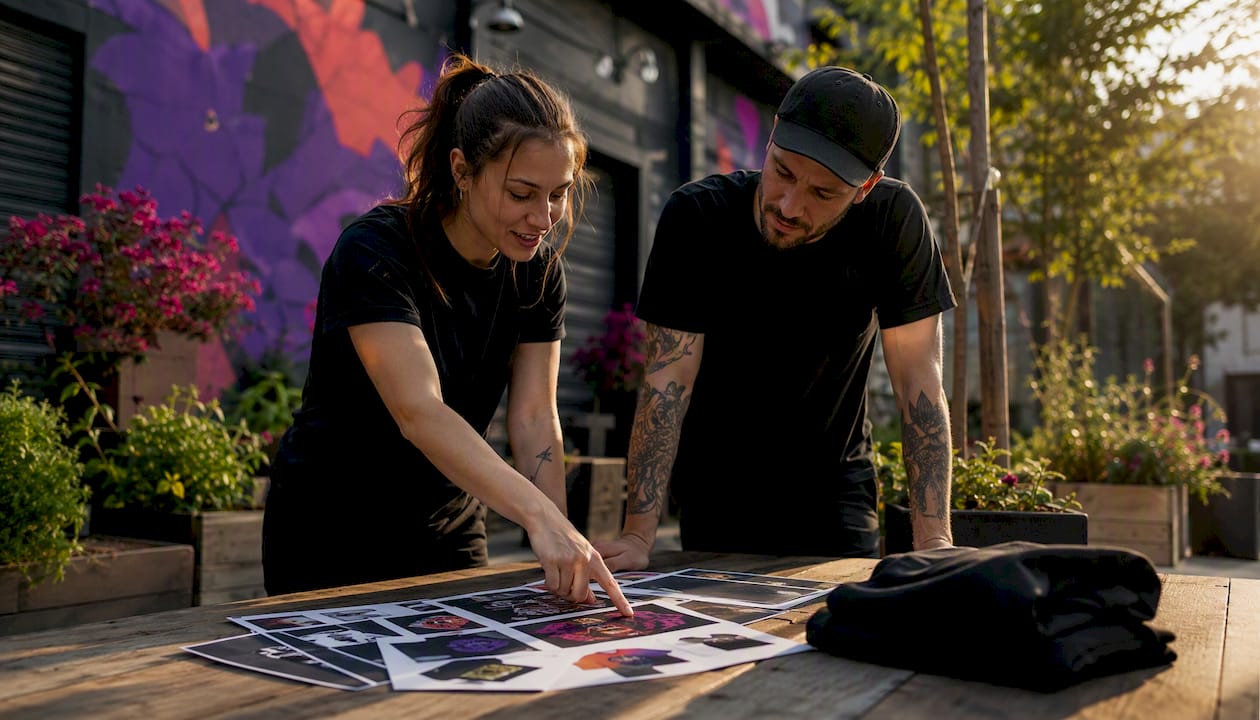
Fabric is not a secondary decision. The wrong garment for your print method produces cracking, dye migration, or adhesion failure within a few washes.
- Screen printing: 100% cotton or 80/20 cotton-poly blends. Polyester causes dye migration with standard plastisol inks — the dye bleeds up through the ink layer and discolors the print over time. If you need polyester, use low-cure inks or switch to DTF.
- DTF: Bonds well to cotton, polyester, blends, and nylon, making it the most versatile method for performance wear and uniforms.
- Embroidery: Cotton-dominant fabrics or 65/35 blends hold up best through commercial washing. Avoid thin jersey — the needle pull distorts the fabric.
- DTG: 100% ringspun cotton gives the sharpest results. High polyester content dulls the ink.
Practical fabric checks before ordering:
- Stretch the fabric and release it. It should snap back immediately. If it stays distorted, print adhesion may suffer.
- Ask for the fabric spec sheet: weight (gsm), knit type (ringspun, pique, performance poly), and whether it is pre-shrunk.
- For embroidery, confirm the fabric is stable enough to hold a hoop without distortion.
Pro Tip: Request a fabric swatch before approving a garment for a large run. Colors and weights vary between manufacturers even on the same SKU.
How quantity, setup fees, and timing affect your price
Setup fees are where most buyers get surprised. Screen printing charges a per-color screen fee — typically for each ink color in your design — before a single shirt is printed. A four-color logo can add significant upfront cost that only makes sense when spread across a large quantity.
DTF and DTG have near-zero setup, so a 12-piece order with a full-color logo costs roughly the same per unit as a 24-piece order. That changes fast at volume: screen printing becomes more price-competitive above roughly 48–72 units and strongly favors bulk at 500+.
Other cost drivers to confirm before you approve a quote:
- Number of print locations (front, back, sleeve each add cost)
- White underbase on dark garments (adds an ink layer and cost for screen printing)
- Specialty inks: puff, metallic, glow-in-the-dark
- Rush charges and their exact trigger (same-day vs. 48-hour)
- Art prep fees if your file is not print-ready
- Screen storage fees for future reorders
Always ask for an all-in quote that specifies your exact sizes, print locations, and garment SKUs. A quote missing any of those variables will change at checkout. For a detailed breakdown of bulk printing cost factors, confirm every line item before signing off.
What proofs and samples should you require?
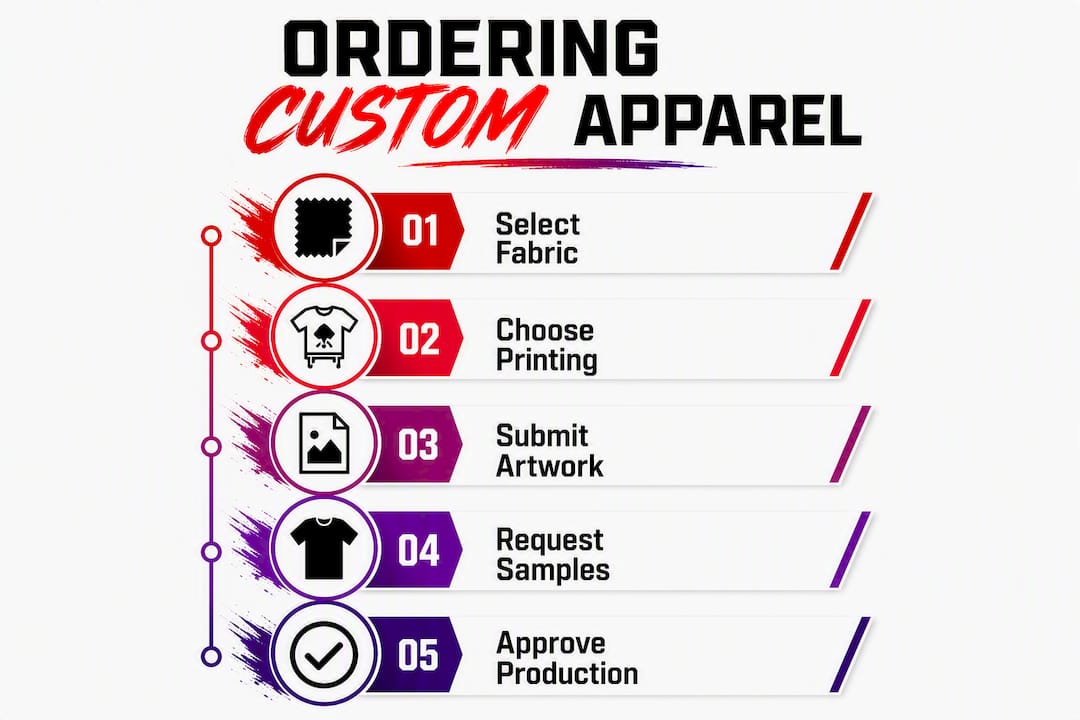
A digital proof (PDF mockup or color preview) shows placement and approximate color. It does not show how the print feels, whether the ink cured properly, or how the garment fits. For any order above a handful of pieces, a physical pre-production sample is worth the extra day or two.
What to check on a physical sample:
- Color match against your Pantone or CMYK reference
- Print placement and size against your spec sheet
- Print feel and texture (hand feel matters for wearability)
- Adhesion: try to peel an edge of a DTF transfer; it should not lift
- Seam alignment and label correctness
- Fit across the size range you ordered
Sample request template (copy and send to your printer):
- Garment SKU and colorway
- Print location and dimensions (e.g., “left chest, 3.5” wide")
- Color references (Pantone C numbers or CMYK values)
- File name and version number
- Requested sample turnaround
Require a photographed sample under natural light and written sign-off before production starts. That paper trail prevents disputes when the final run looks different from what you approved.
Pro Tip: Ask the printer to photograph the sample next to a white sheet of paper. It reveals color casts that indoor lighting hides.
How to get sizing right and avoid costly returns
Size charts vary by manufacturer, sometimes significantly. A medium from one brand fits like a large from another. Before committing to a bulk run, order at least one test garment per size range you plan to stock.
Key measurements to verify:
- Chest width (measured flat, armpit to armpit)
- Body length (collar to hem)
- Sleeve length (for long-sleeve styles)
- Print placement relative to collar and side seams
For team and event orders, a common size distribution for unknown audiences skews toward medium and large. A rough starting split for mixed adult groups is roughly 10% small, 35% medium, 35% large, 15% XL, 5% XXL, adjusted once you know your group. Build in a 5–10% buffer on your most popular sizes for last-minute additions.
| Check | Action |
|---|---|
| Manufacturer size chart | Download and compare to your team’s measurements |
| Pre-shrunk fabric | Confirm with supplier; non-pre-shrunk cotton can shrink 5–8% |
| Print placement | Verify placement shifts with size (chest logo moves with chest width) |
| Test garment | Order one per size range before full production |
What turnaround times should you realistically expect?
DTF and DTG handle small jobs fastest, often same-day to 2 business days for orders under 24 pieces. Screen printing runs 3–10 business days depending on volume, design complexity, and shop backlog. Embroidery timelines vary by stitch count and digitizing complexity.
Get these dates in writing before production starts:
- Proof approval deadline (missing it delays your start date)
- Sample delivery date and approval window
- Production start date (confirmed after proof sign-off)
- Estimated ship or pickup date
- Rush fee trigger and cost
Pro Tip: Add two business days to whatever turnaround you are quoted. Art revisions, size changes, and approval delays are the most common causes of missed deadlines. Confirm the latest date you can make changes without incurring rework charges.
How long do prints actually last, and how should you care for them?
Screen-printed plastisol, when properly cured, is highly durable through many washes. DTF transfers also provide substantial durability depending on curing quality and care. Screen prints tend to crack as they age; DTF tends to thin or fade gradually.
Care instructions to include with every distributed garment:
- Wash inside out in cold water
- Use mild detergent; avoid bleach and fabric softener on prints
- Tumble dry on low or hang dry
- Do not iron directly over the print; iron inside out or use a pressing cloth
- Avoid dry cleaning
Water-based inks require gentler care than plastisol and are more sensitive to high heat. Low-cure inks used on performance polyester also need lower dryer temperatures to prevent adhesion failure. Ask your printer which ink system they use and request the corresponding care card.
Your pre-order checklist: confirm these items before approving production
Run through this before you hit submit on any custom apparel order.
Files and artwork:
- [ ] Vector or 300 DPI raster file submitted at final print dimensions
- [ ] Fonts outlined, images embedded, transparent background confirmed
- [ ] Low-res preview and placement mockup included
Method, fabric, and pricing:
- [ ] Print method confirmed for fabric type and quantity
- [ ] All-in quote received (setup, underbase, rush, art prep)
- [ ] Garment SKU, colorway, and fabric spec confirmed
Proofs and approval:
- [ ] Digital proof reviewed and signed off
- [ ] Physical sample requested, photographed, and approved in writing
Sizing and quantities:
- [ ] Manufacturer size chart downloaded and cross-referenced
- [ ] Size distribution confirmed with buffer stock
- [ ] Pre-shrunk status of fabric confirmed
Scheduling and payment:
- [ ] Proof approval deadline, production start, and pickup/ship date in writing
- [ ] Rush options and fees confirmed
- [ ] Deposit amount and final payment timing agreed
Pro Tip: Label every file with the order number, garment color, and print location (e.g., “ORD-2024-FRONT-BLACK.ai”). It eliminates the most common production misread.
For a deeper dive into team-specific logistics, the team uniform checklist covers bulk order sequencing in detail.
Key Takeaways
Knowing what to look for before ordering custom apparel prevents the three most expensive outcomes: reprints from bad artwork, returns from wrong sizing, and missed deadlines from unclear scheduling.
| Point | Details |
|---|---|
| Artwork specs are non-negotiable | Submit vector files or 300 DPI rasters at final print size to avoid art fees and delays. |
| Method drives everything downstream | Match screen printing, DTF, or embroidery to your fabric, quantity, and durability needs before quoting. |
| Get a physical sample in writing | Require a photographed pre-production sample and written sign-off before full production starts. |
| Build a scheduling buffer | Add two business days to quoted turnaround; confirm proof deadlines and rush fees in writing. |
| Torontocustomtshirts covers the full checklist | Preflight support, DTF and screen printing, rush options, and local pickup in Mississauga for Toronto and GTA orders. |
What most clients get wrong (and how to fix it before you order)
The mistakes that cause reprints are almost never about the design itself. They are about the file behind it.
Low-resolution artwork is the most common problem. A client sends a logo exported from a website at 72 DPI, it looks fine on screen, and it prints as a blurry mess at 12 inches wide. The fix is simple: always work from the original vector source file, not a web export.
The second most frequent issue is missing transparency on dark garments. A white background that is invisible on a white shirt becomes a printed rectangle on a black hoodie. Check every file on a dark background before sending it.
Wrong color mode is third. RGB files submitted for screen printing get converted to CMYK at the printer’s discretion, and the shift can be significant for brand colors. Send CMYK or Pantone references and you control the outcome.
Late art changes are the most expensive mistake of all. A size correction or logo swap submitted after screens are burned or transfers are cut means rework charges and a delayed ship date. Lock your files before the proof approval deadline, not after.
One practical fix: use a single order sheet that lists the garment SKU, print location, file name, Pantone references, size breakdown, and a single point of contact. It eliminates the back-and-forth that causes misreads and keeps your order moving.
Torontocustomtshirts makes the pre-order process straightforward for GTA customers
Placing a custom apparel order should not require a production degree. Torontocustomtshirts handles preflight artwork checks, method selection, and proofing as part of the order process, so you are not left guessing whether your file will print correctly.
Whether you need a single sample shirt, a team uniform run, or bulk branded apparel for an event, Torontocustomtshirts works with individuals and businesses across Mississauga, Toronto, and the GTA. Full-color DTF printing, screen printing, and embroidery are all available, with rush turnaround options and local pickup in Mississauga.
The difference from ordering blind online: you get a real proof review, a clear quote with no hidden fees, and a local contact who can answer questions before production starts, not after.
Get a bulk order quote or visit the Toronto custom apparel page to start your order today.
Recommended
Get pricing in 24h.
Toronto-based, no minimums. Tell us about your project and we'll email a detailed quote within one business day.
Request a Quote