DTF Peeling Fix for Shops: Diagnose by Timing, Save Prints Fast
Shop tested DTF troubleshooting that diagnoses failures by timing. Save salvageable prints with a quick second press and cut returns.
DTF Peeling Fix for Shops: Diagnose by Timing, Save Prints Fast
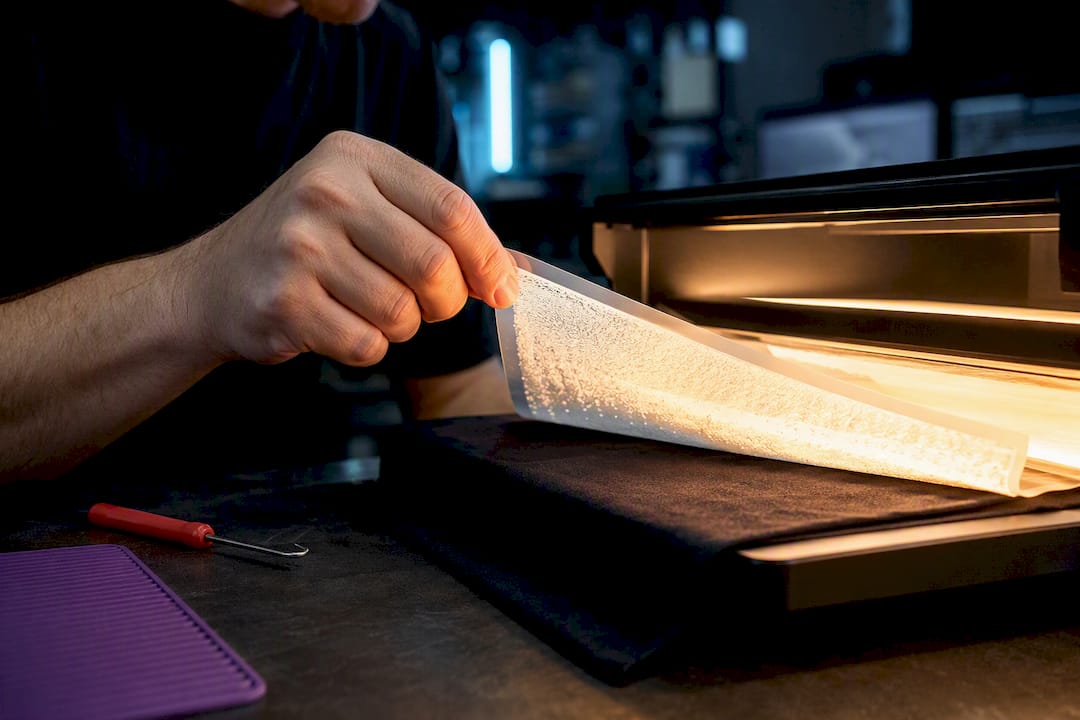
If the edges are lifting right now: stop peeling, lay the film back down, and re-press it under a Teflon sheet for a few extra seconds at your original temperature. Most peeling is a fixable pressure, dwell time, or curing problem, not a ruined shirt. A finishing press after the initial peel solves the majority of cases; the rest come down to correct diagnosis before you touch the heat press again.
TL;DR:
- Most peeling during or immediately after pressing results from pressure, dwell time, or improper peel temperature, and can often be fixed with a second re-press.
- Peeling after washing usually indicates under-curing, with bonding failure common if the powder did not fully melt, especially on high dryer heat or hot-water washes.
- Regularly checking for unmelted powder and ensuring uniform, consistent curing in the tunnel reduces the risk of long-term peel failure.
- A properly applied DTF print generally lasts over 50 wash cycles before showing cracks, but outdoor exposure can accelerate deterioration regardless of initial bonding quality.
- The most effective fix for peeling issues is incorporating a final finishing press into every job, rather than relying heavily on solvents or removal methods.
Table of Contents
- Is Your DTF Print Peeling Right After Pressing or After Washing?
- How to Fix a DTF Print That’s Peeling During or Right After Pressing
- What to Do When a DTF Print Peels After Washing
- How to Prevent DTF Prints From Peeling in the First Place
- How to Remove a Failed DTF Transfer Safely
- What Toronto Custom T-Shirts Has Learned From Thousands of Presses
- Do DTF Ink and Film Type Change How Long a Print Lasts?
- Could the Garment Itself Be Causing the Peeling?
- How Do You Keep Screen-Printed DTF Films From Peeling?
- How Long Should a Properly Applied DTF Print Actually Last?
- Where to Learn More About DTF Troubleshooting
- The Real Lesson Behind Most DTF Peeling Complaints
- Sources
Is Your DTF Print Peeling Right After Pressing or After Washing?
The timing of the failure tells you almost everything about the cause. A print that lifts the moment you peel the film or within the first few wears points to a press or application error. A print that looked fine off the press but starts flaking after the first wash points to a curing or bonding failure that only shows up once water and agitation stress the adhesive.
Immediate peel usually traces back to insufficient pressure, a dwell time that’s too short, or pulling the film at the wrong temperature for that particular product (hot peel films need to come off hot, cold peel films need to cool completely first). Iris DTF’s troubleshooting guide notes that cold peel films left to cool fully before carrier removal see far less design lift than films peeled too early.
Post-wash peeling is a different animal entirely. Brandum’s troubleshooting breakdown identifies under-curing in the curing tunnel as the single most common reason prints fail after that first wash cycle. The powder never fully melted into the ink layer, so the bond looked solid but had no real strength.
Run these quick checks before deciding on a fix:
- Flip the film backing (if you still have it) and look for unmelted powder, which shows as a chalky, uneven texture instead of a smooth glossy coat.
- Note whether the peel happened at the edges only or across the whole design; edge-only lifting usually means pressure, center cracking usually means curing.
- Check if the failure follows a seam or pocket line, since uneven surfaces rob pressure from flat garment presses.
- Re-press a small test corner and watch whether it reseats cleanly or the ink itself looks cracked and brittle.
How to Fix a DTF Print That’s Peeling During or Right After Pressing
When a transfer lifts while you’re peeling or within the first day, you have a short window to save it without reprinting anything.
- Stop immediately and lay the film back down over the lifted section rather than continuing to pull.
- Cover the area with a Teflon sheet or parchment paper. Never re-press bare film or bare ink directly on the platen.
- Re-press in the 155 to 165°C (310 to 329°F) range for most cotton and cotton-blend films, adjusting for your specific film’s spec sheet.
- Add 2 to 4 seconds to your original dwell time and check again rather than jumping straight to a much longer press.
- Apply firm, even pressure. On a manual clamp press, firm means you feel real resistance closing the handle, not a light touch. On a pneumatic press, this usually means the medium-high end of your machine’s range. For seams or pocket edges, slide a press pillow underneath so the platen makes full contact instead of bridging over the raised fabric.
- Finish with a second press: once the initial re-press is done, press again for 5 to 10 seconds at the same temperature under a protective sheet. Brandum’s data on this finishing step shows it meaningfully increases wash durability by reflowing the adhesive surface evenly.
Peel temperature matters as much as pressure. DTF Sheet’s guide to edge peeling points to increased pressure, slightly longer dwell time, and correct peel temperature as the three levers that fix most edge lifting on the first attempt.
If a second re-press attempt still shows lifting in the same spot, stop trying to save it. Two failed re-presses on the same section usually means the ink or powder itself didn’t bond, and further heat just risks scorching the garment.
Pro Tip: For cold-peel films, rub the design firmly with a thick cotton cloth or a chalkboard eraser right after opening the press. It pulls heat out faster and gets the adhesive to working tensile strength sooner, which cuts down on the accidental early-peel mistakes that cause most immediate lifting.
What to Do When a DTF Print Peels After Washing
A wash-test failure means the bond was weak from the start, so your fix depends on how much of the design is actually gone.
If only the edges or corners are lifting and the bulk of the design is intact, dry the garment completely, then re-press it under a Teflon sheet at your normal working temperature for 8 to 10 seconds. This can reflow enough adhesive to reseat minor lifting, though it won’t undo cracking that already reached the ink layer.
If the print is heavily cracked or a large section has flaked off, repair options split into three paths:
- Spot patch: cut a small replacement transfer for just the damaged section if the design has clean geometric edges to work with.
- Full removal and reapplication: heat-peel or solvent-strip the entire design and press a fresh transfer over the same location.
- Professional reprint: for anything covering a logo, text, or a design where a visible patch would look wrong, sending it back for a proper reprint beats a visible repair.
Washing habits often decide which of these you’ll be doing. On Target Print Solutions identifies high dryer heat and hot-water washing as the two biggest wash-side causes of premature cracking, and recommends washing inside out, in cold water, on a gentle cycle, then air-drying or tumbling on low.
One in-house comparison found that adding a proper finishing press after the original peel pushed a print’s wash life from around 15 washes to more than 40 in side-by-side testing. That gap is almost entirely attributable to whether the second press happened at all. If you skipped it the first time around, it’s worth doing before you write off a garment as unsalvageable.
Whatever repair route you take, avoid over-heating the same fabric spot repeatedly. Repeated high-heat presses can scorch fibers or yellow synthetic blends, and solvent removers left too long can bleach or stain the surrounding fabric.
How to Prevent DTF Prints From Peeling in the First Place
Fixing peeling is a one-time save. Preventing it is what keeps a shop’s return rate low and a maker’s reputation intact.
Start at the curing tunnel. Under-cured hot-melt powder is the root cause behind most delayed peeling, and it’s invisible until a garment fails weeks later. Saillage’s adhesion troubleshooting piece recommends comparing the film’s powder backing on a test print before running a full batch. Consistent, even melt across the whole sheet is the signal you’re looking for; patchy or chalky spots mean the tunnel needs a temperature or speed adjustment.
Calibrate the press itself, not just the display readout. A cheap infrared thermometer or a thermometer strip run across the platen will often reveal 10 to 15 degree variance between the display and the actual surface, especially on older manual presses. Start cotton blends around 160°C (320°F) and polyester blends slightly cooler to avoid scorching, then adjust from your own test presses.
Build these steps into every job, not just the tricky ones:
- Pre-press every blank for 3 to 5 seconds to knock out moisture before the transfer ever touches the fabric.
- Match your peel method (hot, warm, or cold) to what the film manufacturer specifies, since guessing wrong is a leading cause of first-peel lifting.
- Run the finishing press every time, not just on prints that look questionable.
- Avoid overpressing. More heat and pressure than needed can scorch garments and doesn’t add adhesion once the bond is already solid.
- Keep press pillows on hand for pocket seams, zippers, and side seams so pressure reaches the whole design evenly.
For finished garments heading out the door, a short care note goes a long way: wait 24 hours before the first wash, wash inside out in cold water on a gentle cycle, and hang dry or tumble on low. That single instruction prevents more return complaints than any press adjustment ever will.
Pro Tip: Keep a logbook of temperature, dwell time, and pressure for each film brand you use. Film formulations vary enough between suppliers that a setting perfected for one roll can under-cure or scorch the next.
How to Remove a Failed DTF Transfer Safely
When a print is beyond saving, removing it cleanly matters more than removing it fast, since a rushed job can ruin the blank underneath.
- Heat and peel. Set the press to your normal working temperature, press for 5 to 8 seconds under a protective sheet, then use a plastic scraper (never metal) to lift the softened edge and pull the transfer off in one motion while it’s still warm.
- Solvent method for stubborn residue. Isopropyl alcohol or a vinyl label remover (VLR) can soften leftover adhesive. Always test on a hidden seam allowance first, and work in a ventilated space, since these products off-gas strongly.
- Mechanical removal as a last resort. A fine-grit fabric-safe abrasive pad can lift stuck residue, but it’s the most likely method to damage fabric fibers, so use it sparingly and only on tougher blends like heavyweight cotton.
- Clean and prep. Wipe down any leftover tackiness with a clean cloth, let the fabric dry fully, and re-press the blank briefly to flatten fibers before applying a new transfer.
What Toronto Custom T-Shirts Has Learned From Thousands of Presses
Every shop develops its own instincts for what a peel problem actually needs, and ours comes down to one habit: never skip the finishing press. It’s the cheapest fix in the entire process, and it’s the one most operators forget under deadline pressure.
Our standard in-house check is simple. Press one test garment from every new film roll, wash it on the same day, and note how it holds up before running a full batch. It catches curing problems before they become a customer complaint. We also keep a pressure-check habit: press a test corner, try to peel it with a fingernail after cooling, and if it lifts too easily, we adjust before the real job runs.
Readers can copy both tests with nothing more than a scrap blank and a wash cycle. For businesses juggling repeat print runs or batch orders that need this kind of consistency built in from the start, our DTF printing services in Mississauga walk through the exact workflow we run in-house.
Do DTF Ink and Film Type Change How Long a Print Lasts?
Not every DTF film behaves the same way under heat, and that difference shows up directly in peel resistance. Hot peel films are designed to come off the garment while still warm, right after pressing, and they generally bond fast with less risk of shifting during removal. Cold peel films need to cool completely before the carrier comes off; pulling one early is one of the most common causes of immediate peeling, since the adhesive hasn’t finished setting.
Ink pigment quality plays a smaller but real role too. Cheaper ink formulations tend to sit more on the surface of the powder layer rather than binding into it evenly, which leaves microscopic gaps where water can work its way in during washing. Higher-grade pigment inks paired with a properly cured hot-melt powder create a denser bond that resists cracking through more wash cycles.
Powder type matters as much as the film itself. Fine-grain powders melt faster and more evenly at lower temperatures, which makes them more forgiving for shops running slightly inconsistent curing tunnels. Coarser powders need more heat and dwell time to fully melt, and if a shop treats them the same as a fine powder, patchy adhesion follows. If your shop switches between suppliers, run a fresh test print any time you change powder grain size, not just when you change ink brand. For readers weighing DTF against other printing methods for durability, our comparison of DTF versus screen printing covers where each method holds up best over time.
Could the Garment Itself Be Causing the Peeling?
Peeling isn’t always a press or film problem. Sometimes the blank underneath is working against you before the transfer even hits the platen.
Fabric finish is the biggest culprit. Garments treated with heavy water-repellent coatings, certain performance fabrics, or fresh-off-the-line moisture-wicking blends resist adhesion because the coating sits between the ink and the fiber. A quick way to check: press a small test patch on an inconspicuous area first if you’re working with an unfamiliar blank, especially anything marketed as “quick-dry” or “athletic.”
Fabric blend ratio changes how much heat the adhesive needs. Polyester-heavy blends generally need slightly lower temperatures to avoid scorching but often benefit from a touch more dwell time to compensate.
Surface texture matters too. Heavily textured fabrics like waffle knits or ribbed material don’t make full contact with a flat platen the way smooth jersey does, leaving low spots where the transfer never fully bonds. A firm press pillow underneath helps close that gap. If you’re sourcing blanks for a new product line and durability is the top concern, our guide on what to look for before ordering custom apparel covers fabric selection in more depth.
How Do You Keep Screen-Printed DTF Films From Peeling?
Some shops screen print directly onto DTF film before pressing, rather than running the film through a DTF printer, and that process introduces its own set of peeling risks.
The single most important factor is ink deposit thickness. Screen printing lays down ink in a thicker, more uneven layer than inkjet-based DTF printing, and if that layer is too thick, the powder underneath can’t melt evenly all the way through, leaving a weak core bond even though the surface looks fine.
Mesh count matters more here than most shops expect. A mesh that’s too coarse deposits excess ink that traps moisture and slows curing; a mesh that’s too fine can starve fine detail of enough ink to hold powder properly. Match mesh count to the specific design’s detail level rather than using one mesh for every job.
Flash curing between colors, if the design uses more than one, needs to fully gel each layer before the next pass. Skipping or rushing flash cures between layers is a frequent cause of adhesion failure that only shows up once the finished transfer goes through a wash cycle. Run the same curing tunnel checks used for standard DTF printing, since the powder still needs full melt regardless of how the ink got onto the film. And always finish with the same second-press protocol described earlier; screen-printed DTF films benefit from it just as much as inkjet-printed ones.
How Long Should a Properly Applied DTF Print Actually Last?
There’s no single industry-wide wash-count standard the way there is for some textile certifications, but shops generally treat 50 or more home wash cycles without visible cracking as the benchmark for a well-executed DTF print. That’s a working baseline based on production experience, not a formal published standard, so treat it as a target rather than a guarantee.
The most reliable way to test durability before committing to a large run is a controlled wash cycle test: press a sample, wash it the same way you’d instruct a customer to (cold, inside out, gentle cycle), and repeat that wash 10, 20, then 50 times while checking for cracking at each interval. This is far more useful for a small shop than any generic industry figure, since it accounts for your specific press, film, and fabric combination.
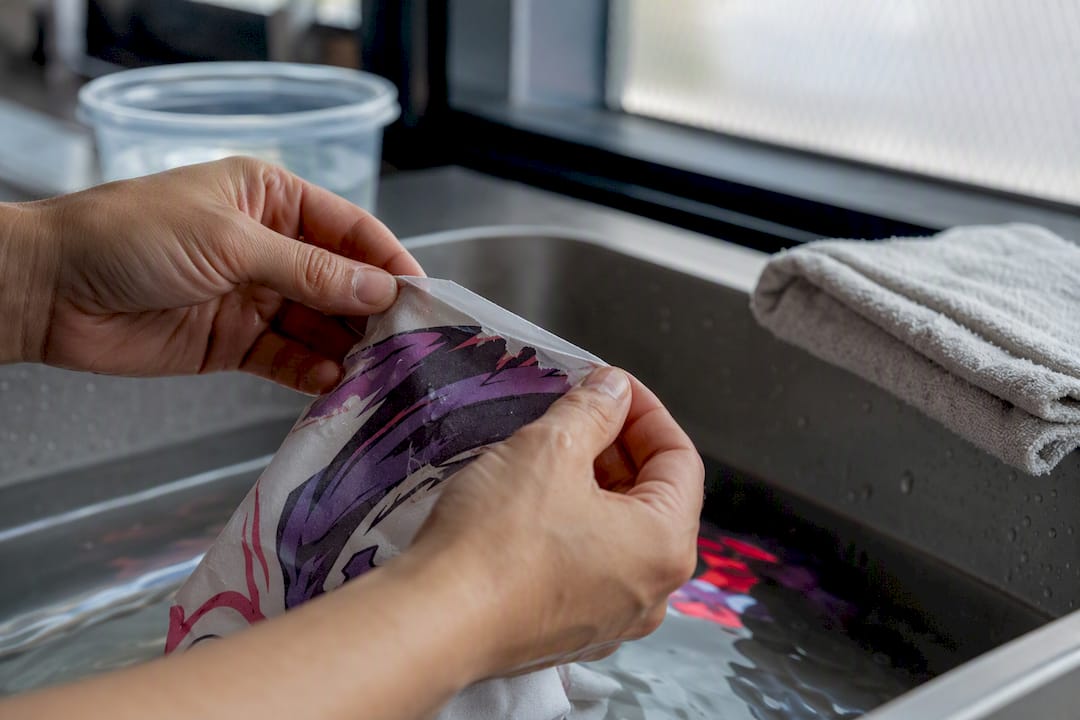
Dry heat exposure and prolonged UV exposure also degrade DTF prints over time independent of washing, so a print that passes a wash test can still fade or crack faster under heavy sun exposure. If a client’s order involves outdoor uniforms or event wear that will see repeated sun exposure, it’s worth mentioning that as a separate durability factor from laundering.
Where to Learn More About DTF Troubleshooting
For deeper temperature reference tables, see Brandum’s troubleshooting guide. For wash-care specifics, check On Target Print Solutions. Always follow your film supplier’s own spec sheet, and run a two-spot test before any batch run.
The Real Lesson Behind Most DTF Peeling Complaints
Most peeling guides treat every failure the same way, throwing a long checklist at the reader regardless of when the print actually failed. That’s backward. The timing of the failure tells you almost everything you need to know before you touch a single setting, and shops that skip that diagnostic step end up making random adjustments that sometimes fix the symptom while leaving the actual cause untouched.
The conventional advice oversells solvents and removal methods. In practice, the finishing press solves far more cases than any other single intervention, and it’s the step most operators cut when they’re rushing an order. If there’s one thing worth prioritizing above everything else in this article, it’s building that second press into every job as a non-negotiable step rather than an occasional afterthought.
Fewer interventions, applied correctly and in the right order, beat a long list of possible fixes tried at random. Diagnose by timing first, re-press before you consider removal, and treat curing consistency as a production standard rather than a troubleshooting afterthought.
— Toronto
Sources
- DTF Printing Problems & Fixes | Troubleshooting Guide
- DTF Transfer Edges Peeling: Diagnose and Fix Fast
- Why Is My DTF Cracking or Peeling After Washing? – On Target Print Solutions
Recommended
Get pricing in 24h.
Toronto-based, no minimums. Tell us about your project and we'll email a detailed quote within one business day.
Request a Quote